


How to make a fairy garden in your backyard
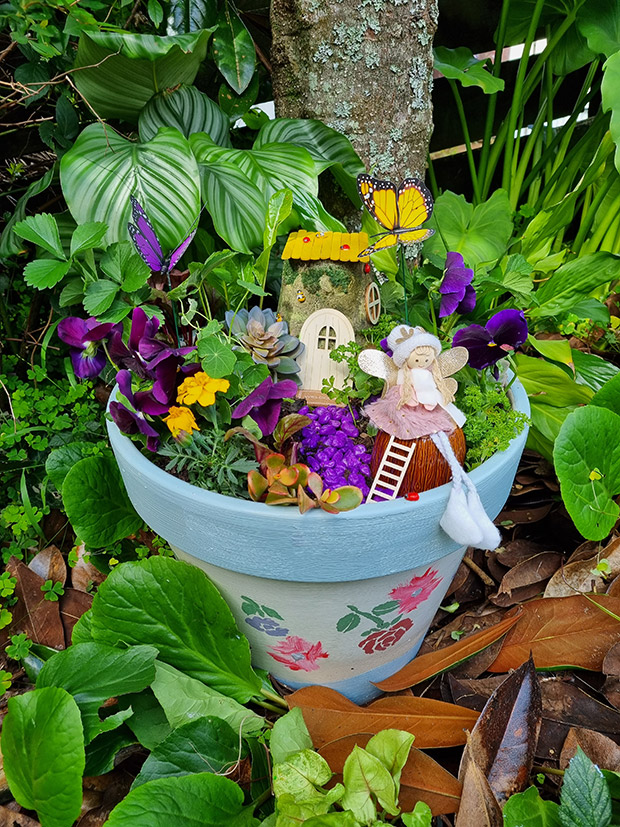
Turn an ordinary pot into a whimsical wonderland for fairies — children will love it.
Words and photos: Jane Wrigglesworth
The ultimate gift for a youngster is a fantastical fairy garden – or their very first miniature garden plot complete with flowers and succulent edibles. Not only will it provide hours of fun, it will double as a living classroom, teaching children about science and nature.
Build a small raised bed and paint your child’s name on the sides in bright colours, or upcycle an old trough of plant pot and paint flowers, bugs or butterflies onto it. Your container will need drainage holes in the bottom, and good quality potting mix. Provide your kids with their own tools too, such as a child’s watering can, trowel and gloves.
Miniature decorations can be bought or made. Use ice-block sticks, for example, to make a fairy’s table and chairs, or an upturned pot for a house. Coloured pebbles make great paths and a small shallow blue dish filled with water can become a pond.
Use annuals to ensure constant flowers. Good choices include pansies, marigolds, bedding salvias and petunias, or you can use any bedding (low-growing) plant. Strawberries are a great addition too, as are ground-covering herbs such as thyme and lawn chamomile. Add a succulent or two – the rosette-forming leaves often look like flowers – and they’re hard to kill.
MATERIALS
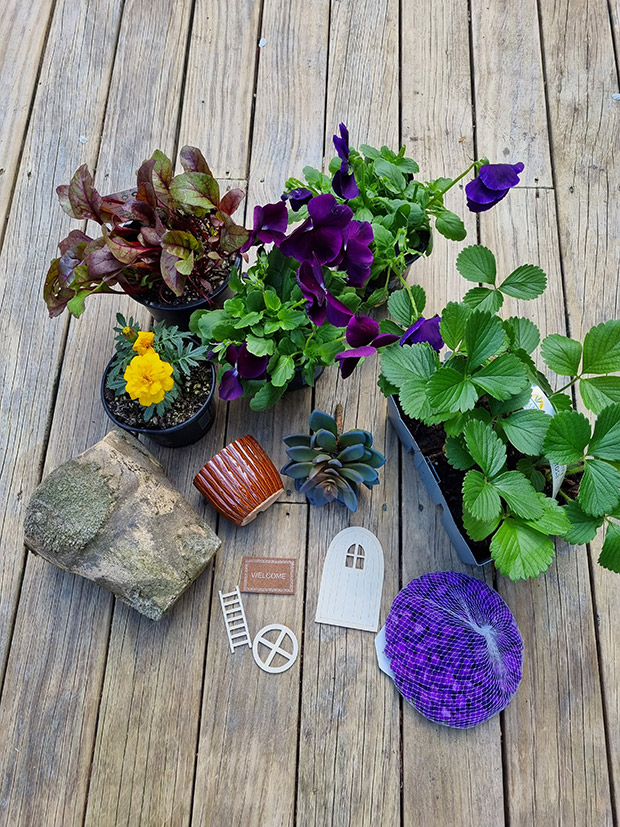
Large container, trough or plant pot
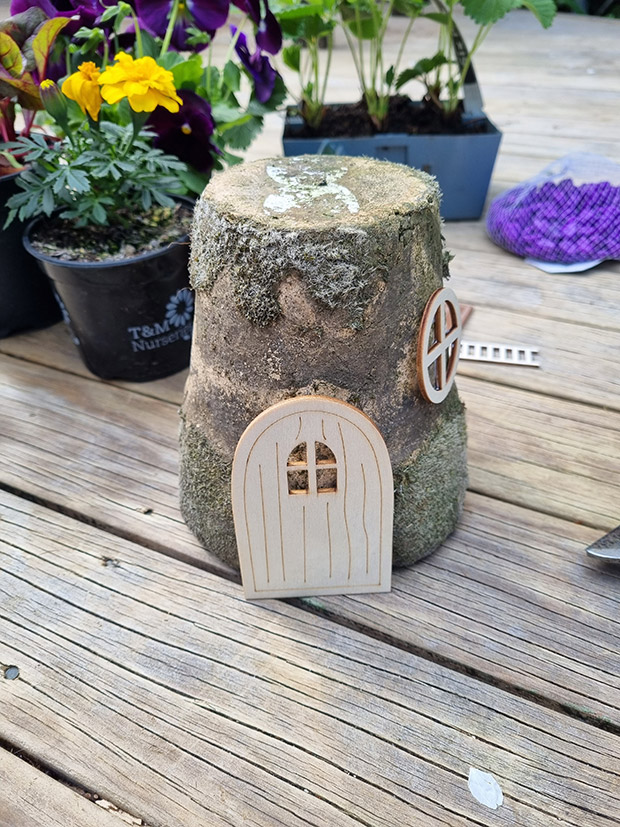
Small pot (for fairy house – mine is already decorated with faux moss)
Potting mix
Flowering plants, herbs and strawberries
Coloured pebbles (for path) or a fallen branch cut into rounds to make stepping stones
Ready-made door (from a dollar store) – or make your own from twigs or ice block sticks
Glue gun
Leftover paint or test pots
Earthy decorations – faux butterflies, insects, etc
Fairy
INSTRUCTIONS
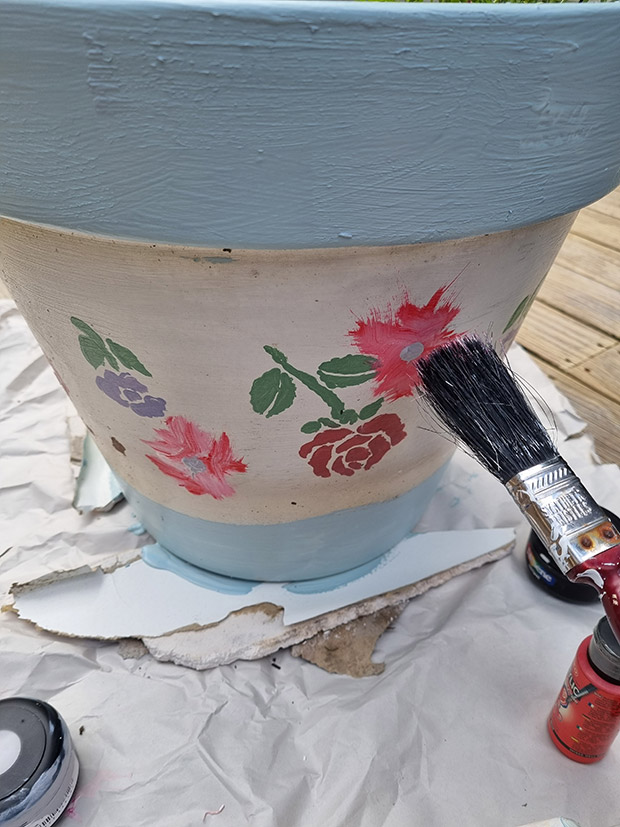
Step 1: Paint your plant pot in bright colours (or your child’s favourite colour), or choose a neutral background and use stencils and paint to decorate. When dry, fill with potting mix.
Step 2: Turn the small pot (fairy house) upside down and, using the glue gun, add the door, window and/or roof. Adhere additional decorations such as twigs, moss, pinecones, shells, autumn leaves, small faux bugs, or whatever you have on hand.
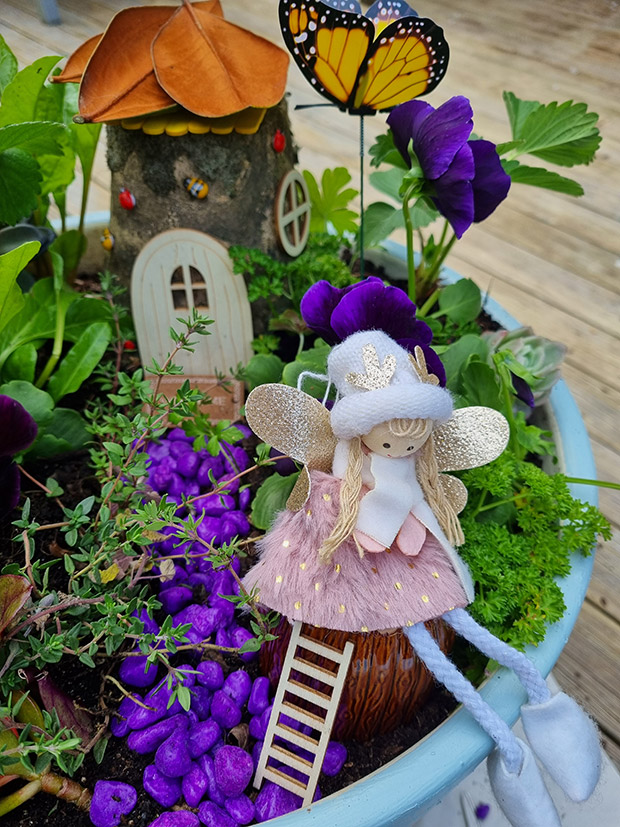
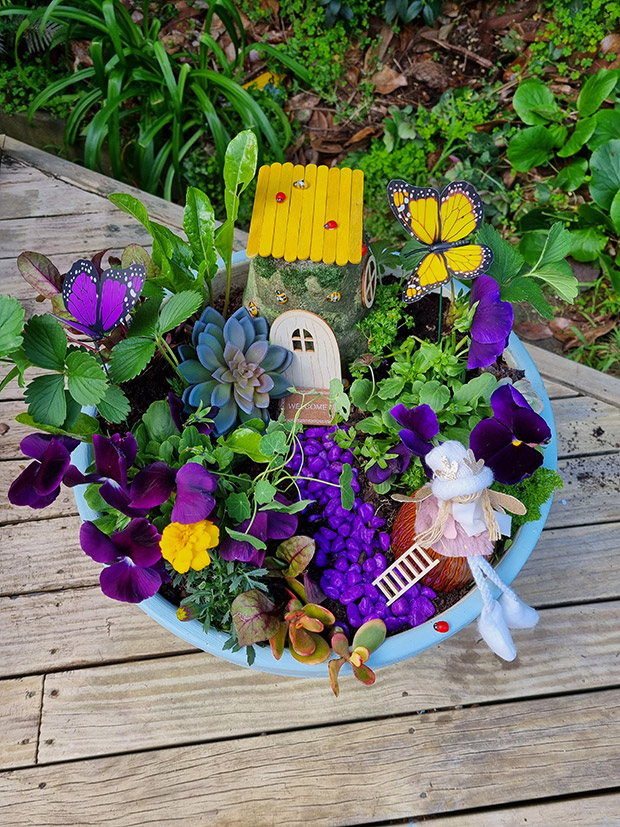
Step 3: Place your fairy house on top of the soil, then plant around it, leaving a bare strip of soil for the coloured pebbles for your pathway. Lay the pebbles after planting, otherwise they are likely to be covered with soil. Fill any gaps with fun objects – a fairy, butterflies and faux insects.
JANE’S NOTES
– My fairy door, window and welcome mat came as a set from Auckland hobby-store, Chocka Bucket, which cost less than $5. Alternatively, buy coloured ice block sticks (or paint them) and glue together to form a door. Glue on a bead for a door handle, if desired.
– The tiny ladybugs and bees on my fairy house came from Chocka Bucket. The faux butterflies on wire are from a $2 shop (six butterflies in the pack), as are the purple pebbles.
The post How to make a fairy garden in your backyard appeared first on thisNZlife.